Using Vue Components in your Express app
VueJS is awesome. Creating self contained components and compose them together in your pages makes so much sense, and therefore I've been using it extensively in my latest projects. However, sometimes you want (or need) to create a traditional app, and can't use the SPA workflow development with hot reloading and .vue files.
Or can you? 🤔
TL;DR: I've prepared a repo with the full example code in case you want to dive right in at Github
Laravel already got Vue tightly integrated out-of-the-box, and you can actually register and use .vue components in your blade templates relatively easy. My weapon of choice is usually Express though, as I'm a Javascript fanboy 🤓. I set out to see if this is possible and spent 2 evenings trying to get the same working. With success! Below the steps to get this up and running for your next Express app as well.
Defining some goals
Before setting out to come up with a solution I had to define the goals I had in mind. I came up with the following:
- Be able to write components using the
.vueapproach Surely it's possible to write lengthy javascript and define components in one big file, but I want to use the .vue approach where<template>,<script>and<style>are combined in one file. - Use the components by puttin
<custom-tag>in my view files Registering and compiling is one thing, but being able to use them is another. I don't want to have to use Vue code to render the components explicity - Ability to use a pre-processor
I like writing my styles in the
scssformat, so this should be supported. - A simple build tool to compile When developing SPA projects the build tools get rather verbose and complex. For the projects I want to use components in the build tool should be simple.
- Bonus Feature: Hot Reloading Spoiler alert: I didn't set out to have this as a requirement, but it works, and it's awesome.
Setting the stage
So let's get started. Obviously we will need a starting point. The easiest way to start a new Express app is by using its generator. Basically this will create an empty project that you can build off from. If you don't have it yet, here is how you get it installed:
npm install express-generator -g
Next we run the generator to create our project:
express --view=pug myapp
I use pug because I like the clean syntax. Though I know plenty people who hate it, so if you are one of them, just omit the --view parameter 😉
The generator will have created a folder myapp with an app which is pretty much ready to go, just go:
cd myapp
yarn install # or npm
yarn start
This will just install the dependencies and start the Express webserver. If all went well, browsing to http://localhost:3000 should give you the Welcome page of your new app.
Adding Vue
With the base set up, it's about time we add some Vue to the project. Let's pull in the Vue dependency first:
yarn add vue
Next, we need to create our entry Javascript file. We will eventually bundle all the referenced javascript code into one file, so this will be our main file. I created a file in public/javascripts/main.js. In there put the following:
var Vue = require("vue/dist/vue.js");

const app = new Vue({
    el: "#app",
});
Notice we pull in vue/dist/vue.js rather than just vue. This is because by default Vue includes the runtime-only build, which means we can't use templates like we want in .vue files.
We also mount our Vue app to an element with id app, so change the views/layout.pug to include that
doctype html
html
  head
    title= title
    link(rel='stylesheet', href='/stylesheets/style.css')
  body
+   #app
    block content
Create a build script
Now, to use our javascript we will need to bundle it and include it in our template. My usual choice is webpack, but configuring this is quite cumbersome and to be completely honest, I couldn't get it to work. For some reason it would incude the default vue version meaning we can't use .vue files, one of the main goals.
Luckily, there is a nice tool called Vueify which we can use to compile our javascript. As a bonus, it supports pre-processors such as SASS, Styuls and even template languages such as Pug. Win. It's a transform for Browserify, so we will need both.
Installing is simple:
yarn global add browserify # We want this global, to run is easily
yarn add vueify
Now we can do the compiling:
browserify -t vueify -e public/javascripts/main.js -o public/javascripts/bundle.js
This will, unsurprisingly, create a new file bundle.js with the compiled code. Let's not forget to include it in our layout:
doctype html
html
  head
    title= title
    link(rel='stylesheet', href='/stylesheets/style.css')
  body
    #app
      block content
+   script(src="/javascripts/bundle.js")
Writing a component
Next up is the part we've been waiting for .. an actual component! Let's add a file public/javascripts/components/cruelWorld.vue
<template>
    <div class="cruel">
        Cruel
        <span>{{ who }}</span>
    </div>
</template>

<script>
module.exports = { // This is important, I got errors when using `export default`
    data () {
        return {
            who: "World"
        }
    },
    mounted () {
        setTimeout(() => {
            console.log('We can use ES6 too!')
        }, 1000)
    }
}
</script>

<style scoped>
.cruel {
    color: green;
}
</style>
This is your basic Vue component. We have a simple template and some data, and it's mounted we log out a message after 1 second to show Arrow functions work as well.
Let's add it to our main.js so we can use it:
var Vue = require("vue/dist/vue.js");

Vue.component("cruelWorld", require("./components/cruelWorld.vue"));

const app = new Vue({
    el: "#app",
});
And compile it by running the command again:
browserify -t vueify -e public/javascripts/main.js -o public/javascripts/bundle.js
Include the component
Nice. So we got our setup, we got our component. Now let's use it. Open up views/index.pug and add the component:
extends layout
block content
h1= title
+ cruel-world
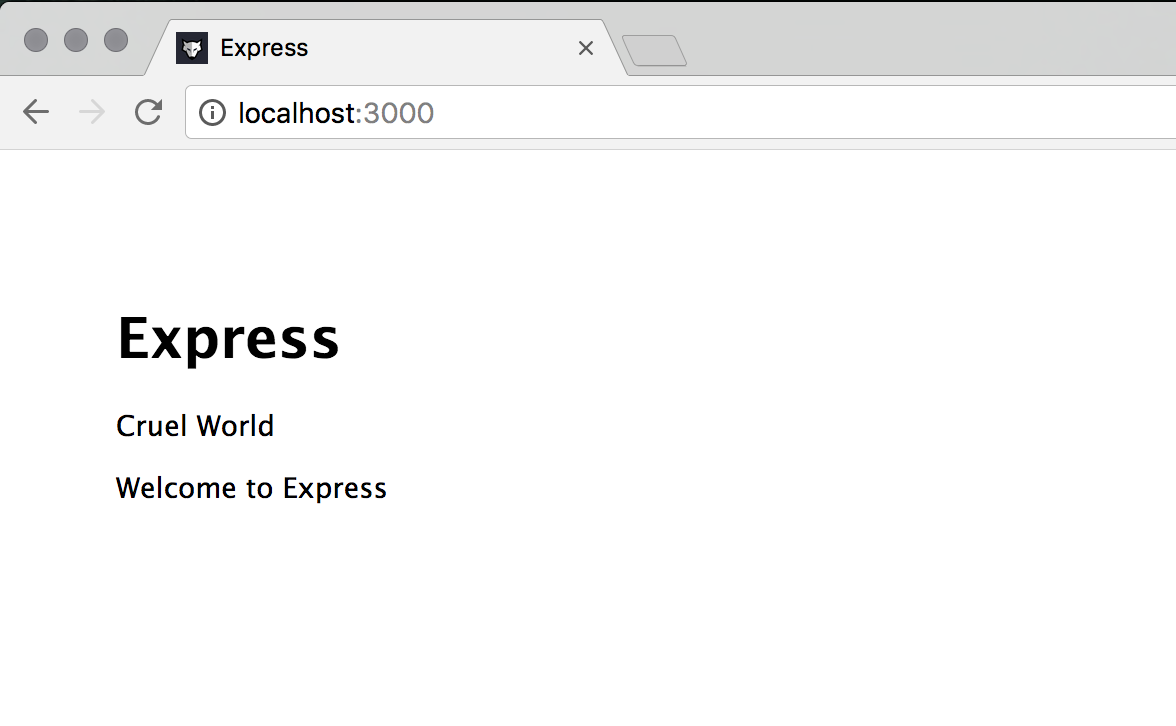
p Welcome to #{title}
Start the webserver:
yarn start
If all went well, you should be seeing our component alive and kicking!
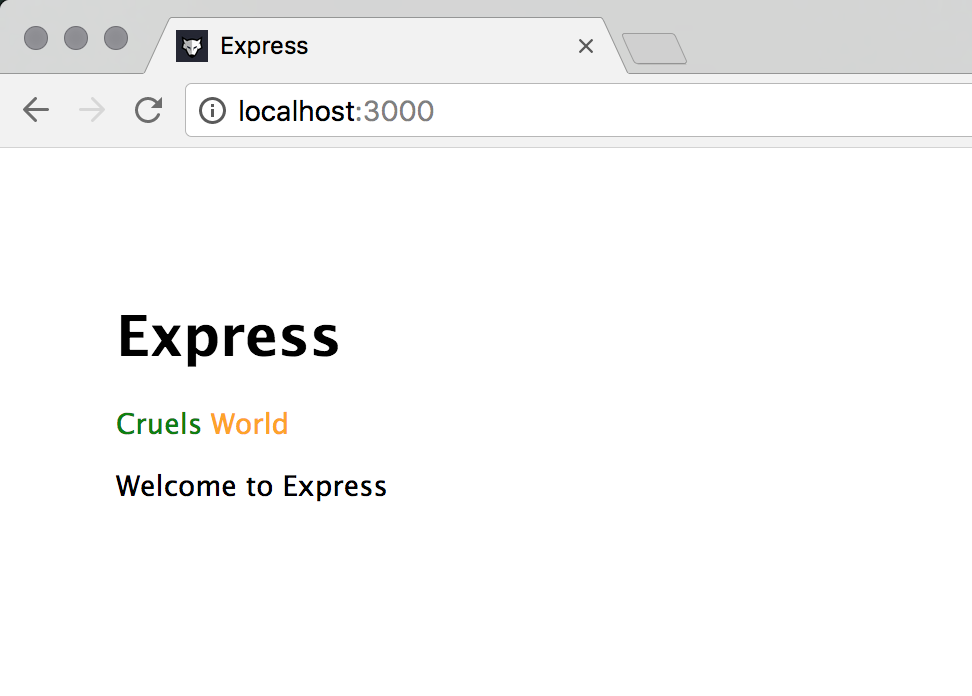
Now, we can use pre-processors as well. For instance, we can add lang="scss" to our <style> tag to use SASS syntax:
<template>
    <div class="cruel">
        Cruel
        <span>{{ who }}</span>
    </div>
</template>

<script>
module.exports = {
    data () {
        return {
            who: "World"
        }
    },
    mounted () {
        setTimeout(() => {
            console.log('We can use ES6 too!')
        }, 1000)
    }
}
</script>

<style scoped lang="scss"> <!-- add this attribute -->
.cruel {
    color: green;
    span { <!-- nested scss syntax! -->
        color: orange;
    }
}
</style>
Before compiling this, we need to quickly add node-sass as dependency:
yarn add node-sass
Now, when you compile and run, you should see the SASS is being compiled correclty and your component has become more colourful.
This is great. We can write .vue components and then use them in our traditional app. We could stop here, but let's add one more feature ..
Bonus: Hot Reloading
This is just the icing on the cake. Being able to update our components and see the results straight away in our browser.
Open up your package.json and add the following dev script to the scripts section:
"scripts": {
  "start": "node ./bin/www",
  "dev": "watchify -vd -p browserify-hmr -t vueify -e public/javascripts/main.js -o public/javascripts/bundle.js & node ./bin/www"
}
This script looks daunting but is quite simple. Basically it uses watchify to watch for code changes, and proxies the result of vueify through browserify-hmr (hot module reloading) to our page. Awesome.
Don't forget to install the dependencies this relies on:
yarn add watchify
yarn add browserify-hmr
Now when you start the server ..
yarn dev
It will compile our javascript and watch for changes. Try it out, make a change to cruelWorld.vue and see the change automagically in the browser!
Conclusion
I'm glad I could get this working. Sometimes it doesn't make sense to go all out with a single page app. Having the ability to still use the Vue Components in your traditional project is just gold.
If you want to see the full source code of the above, I've prepared a repository at Github which you can use as a reference or starting point.
Hope the above helps!